The app development game has changed
Creating an app used to be very difficult and was left to professionals who understood coding. With changes in app creation technology, successful laymen developers are popping up at the top of Google Play.
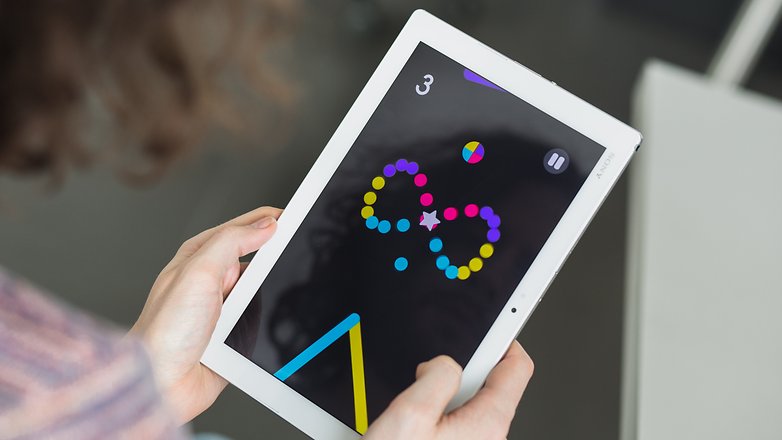
AndroidPIT recently interviewed the creator of the smash hit game app Color Switch, who claimed he didn't know how to code. Despite this, his app has more than 10 million downloads on Google Play and is heating up the charts.
If it's possible for a non-coder to make an app so massively popular, then creating one that's decently popular should be easy. You just have to have the right combination of a great idea and good execution of app development.

The first step is great planning
Before you start, really do your research. Plan out what kind of app yours will be. If you develop something that you later can not use, you will have wasted your time. Make sure you look around at what's out there. You don't want to reinvent the wheel.
It might be a good idea to do some preliminary sketches to give yourself an idea of what your app will look like. You could even run it by a trusted friend or family member to see if they like it.
If you're getting into a niche market, make sure it's not too overcrowded. If you're planning on competing with some of the well-known apps, you need to have an app that performs better or does something the others don't.
Get started on building the app
Download and install the necessary software
If you want to build an app and you don't have coding experience, you need to download Android Studio. Before you install it, make sure you have Java SE Development Kit 7. Both are free.
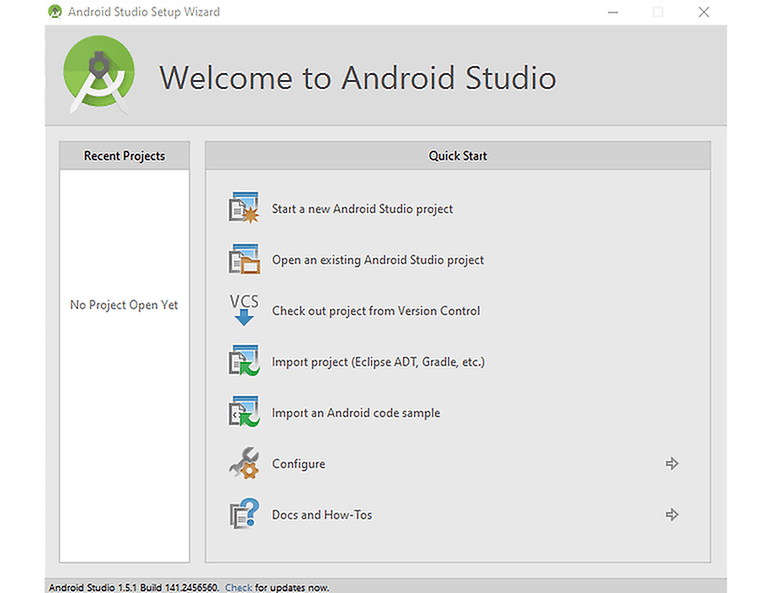
You then need to install Android Studio from your downloads folder. When it's done you should have a launch screen that looks like the one below.

Do a test run
Just to get you started, we are going to design a very simple app. Once you're done with this, you will see how user-friendly Android Studio is and hopefully go on to create a winning app.
Define the parameters of your app
Once you hit Start a new Android Studio project you will get a bunch of different options, but with good planning these will really fill-in themselves. You put the name of your app in, then start building it. If you haven't thought of a name you may want to go back a step and be sure you planned well enough.
If you geared your app towards smartphone users, you only need to click the smartphone/tablet user box. There are others, but for your first project you might want to consider trying this option. We will use this for the example.
Afterwards, you need to choose what mode you want the app to perform in. In this case, choose fullscreen.

Time to start designing
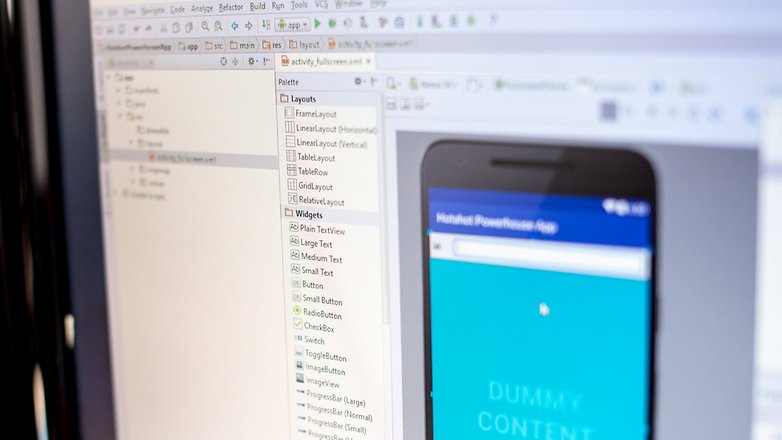
Delete 'Dummy Content' and 'Dummy Button' by right-clicking on them and hitting delete. Put a nice message about your app in the middle of the smartphone by clicking on Large Text under the Widget section in Palette. A text should pop up in the middle of the screen. You can change this text by clicking in it.
Now we'll add a button. Click on Button underneath Widgets, drag it into the smartphone underneath the text and name it.
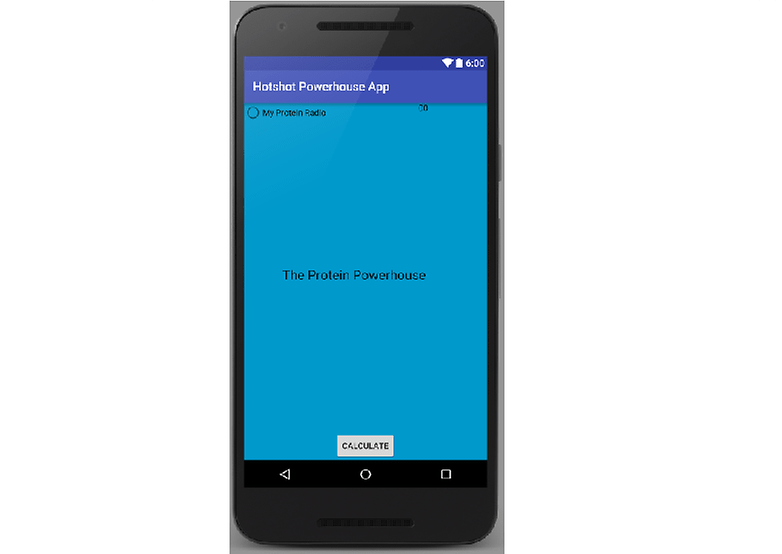
Let's add a couple more functions. In Widgets, drag the Radio button into the upper right hand corner of the smartphone. Keep scrolling down Palette until you hit Date & Time and drag a Chronometer into the upper left hand corner of the smartphone. Your design should look like the smartphone below.

Add more and let it rip
Go ahead and play around with some of the functions on Android Studio. Add things you think are interesting and modify them to your liking.
Once you are done, you can click on the Run button. It's the green triangular shaped button at the top-middle of your screen.
Now you need to go back and change it to match your app. You should also add in the functions.
For in-depth designing of your app, check out the Android Studio Guide.
Have you made an Android app before? Let us know in the comments below.
0 comments Blogger 0 Facebook
Post a Comment